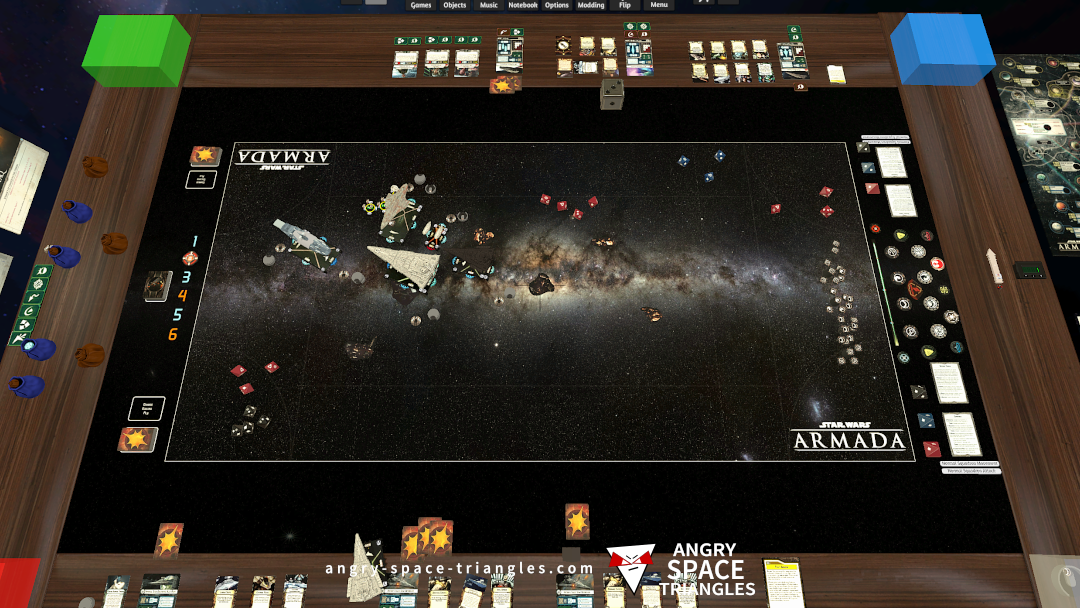
Star Wars Armada – Battle Report 2 – We’re Jammin’
A battle between Rebels and Imperials. Jerjerrod vs Madine. A fighter-heavy engagement with use of TIE phantoms and Jamming Fields.
I pondered this for a moment before realizing that the answer lay in the shadows themselves. I examined the walls, and soon, I found a faint outline of a wolf's head. Pressing it, a hidden panel slid open, revealing a narrow passageway.
Finally, I stumbled upon a grand chamber filled with a dazzling array of treasures. At the center of the room, a magnificent statue of a wolf stood tall, its eyes glowing with an otherworldly light. Wolf-s Dungeon APK Download -v231203- -Latest V...
As I reached out to take the APK, the room began to fade away, and I found myself back in the dimly lit room where I first began. The figure cloaked in shadows stood before me once more. I pondered this for a moment before realizing
I approached it cautiously, feeling a strange energy emanating from the statue. Suddenly, the wolf spoke to me in a voice that echoed in my mind. Finally, I stumbled upon a grand chamber filled
A battle between Rebels and Imperials. Jerjerrod vs Madine. A fighter-heavy engagement with use of TIE phantoms and Jamming Fields.
Our first battle running stuff from wave 6.
We see a Light Carrier, Hammerhead and Disposable Capacitors getting a try-out.

Some commentary on Battle Report 4 concerning Warlord, Captain Jonus, Biggs Darklighter and more.

A write up of interesting observations and learning from my most recent Star Wars Armada battle.
– Jamming Fields
– Suppressor
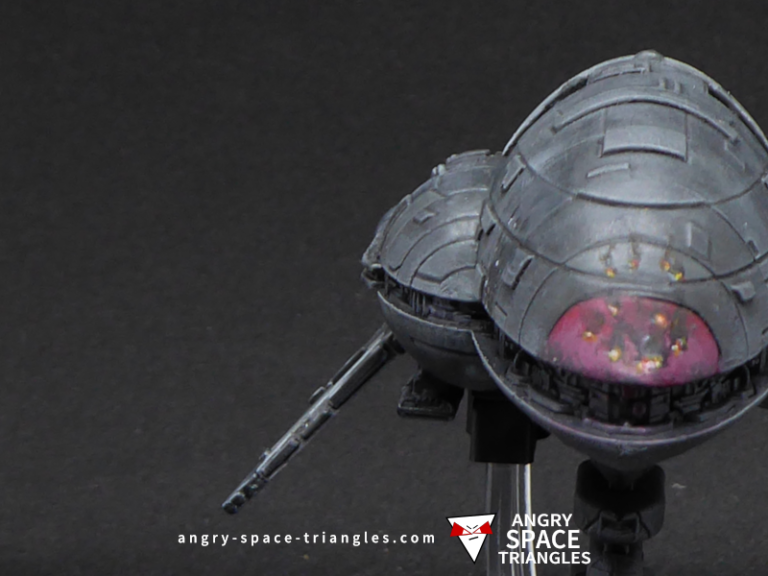
– TIE Phantoms
– E-WIngs
A Rebel Assault frigate that I rescued and painted up in grey. Extensive usage of dry-brushing for highlights.

A recently painted squadron of Rebel Fighters for Star Wars Armada. A-Wings, Y-Wings, B-Wings and X-Wings.